NoSSD settings
One of the big draws and appeal to using NoSSD is its simplicity. It is almost as easy as ETH mining was back during the PoW GPU craze of 2021.
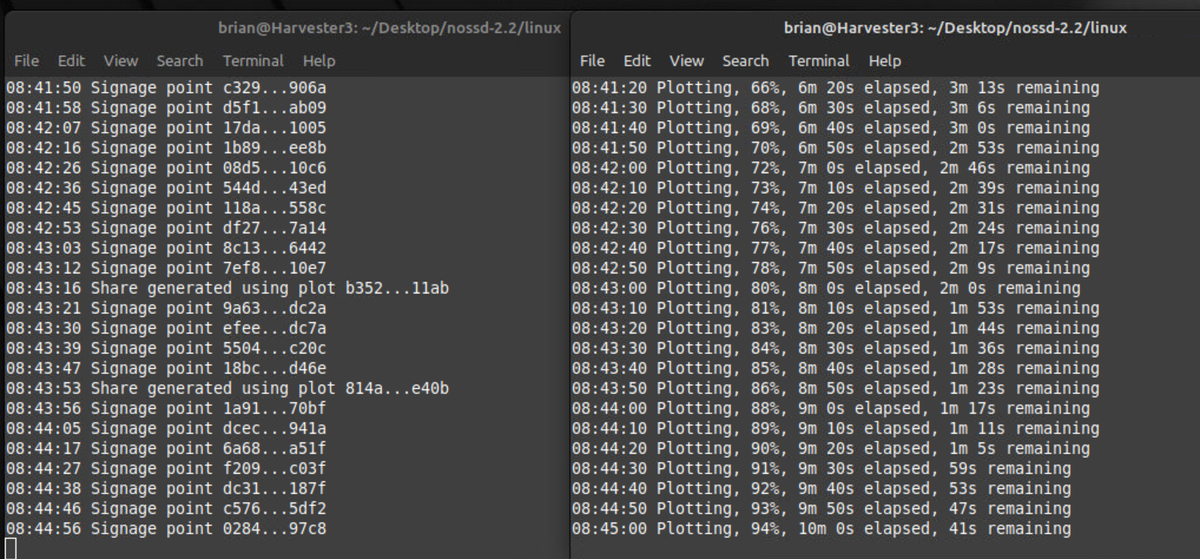
The way I configured my NoSSD plotters/harvesters uses two script files (.sh). One is to farm all HDDs within /farm/* (farm_all_hdd.sh) and the other script is to plot to my high speed SSD buffer (plot-to-ssd.sh).
When you run two instances of NoSSD at the same time, you have to make one of the instances point to a temp folder on your system. I created a folder in /home/brian/nossd for this purpose (note I am running Linux Mint).
farm_all_hdd.sh looks like this:
!/usr/bin/env bash
cd "$(dirname "$(realpath "${BASH_SOURCE[0]:-$0}")")"
./client -a xch14ju3e0kp3z7nv09r54z9cfn9em0xqqh6gccv5tjfy870vxvuukfs8vnttw \
--no-temp \
-d /farm/* \
-w Harvester3 --no-plotting -s /home/brian/nossd
Then, plot-to-ssd.sh looks like this:
!/usr/bin/env bash
cd "$(dirname "$(realpath "${BASH_SOURCE[0]:-$0}")")"
./client -c 14 --no-temp -d /mnt/ssdbuffer -w Harvester3 --no-benchmark
/mnt/ssdbuffer is an enterprise-grade SSD buffer to catch the plots that are made in as little as 80 seconds on my RTX 4090 or 3090s. After the plot is left there, then another script called plow.py moves those plots to any hard drive in /farm/* that has available space to fit that plot.
The plow.py script looks like this:
This script was modified from the original source, which can be found here: https://github.com/lmacken/plow
In order to run plow, you have to have a couple dependencies installed first:
sudo apt-get install python3-pip
pip install aionotify
Then, to run:
python3 plow.py
Once you have done all of the above, you just let the thing run! There is nothing you have to do from that point on – NoSSD will fill all your available HDDs with plots and pick them up for harvesting.
There is no Chia blockchain database to download; no private keys being exposed to the software; just input your receive wallet address (public) and let it run!